How to Make Your Kitchen Counters Clutter-Free and Organized
Keeping your kitchen counters clutter-free can transform the look and feel of your entire cooking space. A clear countertop not only makes your kitchen appear larger and more inviting but also provides you with more workspace and makes cooking and cleaning easier. If you often find your countertops covered with appliances, dishes, and miscellaneous items, this guide offers practical steps to help you create a neat and organized kitchen.
Why Keep Your Kitchen Counters Clutter-Free?
Before diving into the how-to, it’s good to know the benefits of maintaining clear countertops:
– More workspace: With fewer items on the counters, you have more room to prepare meals.
– Easier cleaning: A clear surface is simpler and faster to wipe down.
– Improved safety: Less clutter reduces the risk of accidents like spills or knocking things over.
– Better aesthetics: Clean counters create a visually appealing kitchen environment.
– Lower stress: An organized space often helps reduce feelings of overwhelm.
Step 1: Assess Your Counter Space
Begin by taking a good look at your countertops. Identify which items are essential to keep on the counter daily and which ones could be stored elsewhere. Common countertop clutter includes:
– Small appliances (toasters, coffee makers, mixers)
– Utensils and cooking tools
– Mail or paperwork
– Decorative items
– Food containers or spice racks
Step 2: Declutter and Sort
Remove everything from the countertops and sort items into categories:
– Daily-use items: Things you use every day or multiple times a week.
– Occasional-use items: Appliances or tools used once in a while.
– Rarely used or broken items: Items you haven’t used recently or are no longer functional.
– Items that don’t belong in the kitchen: Sometimes countertop clutter includes things like keys or mail.
Decide what needs to stay in the kitchen and what can be relocated, donated, or discarded.
Step 3: Designate Storage Spaces
Maximize your kitchen storage so fewer items need to live on the counters.
Use Cabinets and Drawers Wisely
– Store small appliances inside cabinets when not in use.
– Use drawer organizers for utensils and tools.
– Place rarely used gadgets on higher shelves.
Create Dedicated Spots
– Assign a drawer or bin for mail and keys near the kitchen entrance to keep them off the counters.
– Use a designated tray or basket for daily items like fruit or coffee pods to contain them neatly.
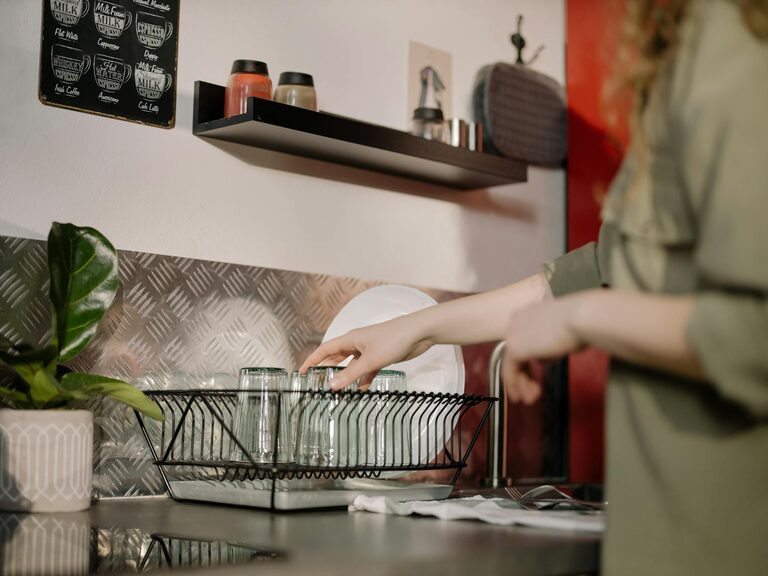
Step 4: Utilize Vertical Storage
If counter space is limited, make use of your walls.
– Install shelves: Floating shelves can hold spice jars, cookbooks, or decorative pieces.
– Use hooks or rails: Hang utensils, mugs, or pots to free up surface space.
– Magnetic strips: Attach knives or metal tools to a magnetic strip on the wall.
Step 5: Limit Countertop Appliances
Small appliances can take up a lot of room. Keep only the essentials on the counter.
– Keep your coffee maker or toaster out if you use them daily.
– Store other appliances like blenders or mixers after use.
– Consider multitasking appliances that combine functions and reduce the number of items.
Step 6: Adopt Daily Habits to Maintain Clarity
Keeping counters clutter-free is an ongoing effort. Consider these habits:
– Wipe down counters every day after cooking or eating.
– Put items back in their place immediately after use.
– Avoid using counters as a catch-all space for mail or random objects.
– Set up a weekly decluttering routine to remove items that accumulate.
Step 7: Consider Minimalist Decor
While some decor adds warmth and personality, too many decorative items can cause clutter.
– Choose a few meaningful or functional decor pieces.
– Use plants to add a refreshing touch without overcrowding.
– Keep decorative trays or bowls to corral small items neatly.
Bonus Tips
– Use clear containers: Store items like grains or snacks in transparent containers to keep counters tidy and visually organized.
– Label containers and shelves: Clear labels help you find and return items easily.
– Invest in multipurpose storage: For example, a cutting board with built-in storage can save counter space.
Conclusion
Making your kitchen counters clutter-free is achievable with a little effort and organization. By assessing your space, decluttering, optimizing storage, and developing simple habits, you can enjoy a clean, efficient kitchen that makes cooking more enjoyable. Start with one step at a time, and soon your countertops will become a pleasant, practical workspace.
Remember, the goal is to create a kitchen environment that works for you — neat, welcoming, and easy to maintain. Happy organizing!